Turn your app into a Live App
If you want to embed your web app into Ledger's Live's Market place, also known as our Discover section, you've come to the right place.
What are the Discover section and Live Apps
Ledger Live aims to be more than a keyholder— it’s a comprehensive platform crafted by Ledger.
It allows users to manage, transact, and nurture their digital assets securely. Both from Desktop and Mobile, it serves as a door to the broad crypto ecosystem. And this is where your apps and the Discover section comes into place.
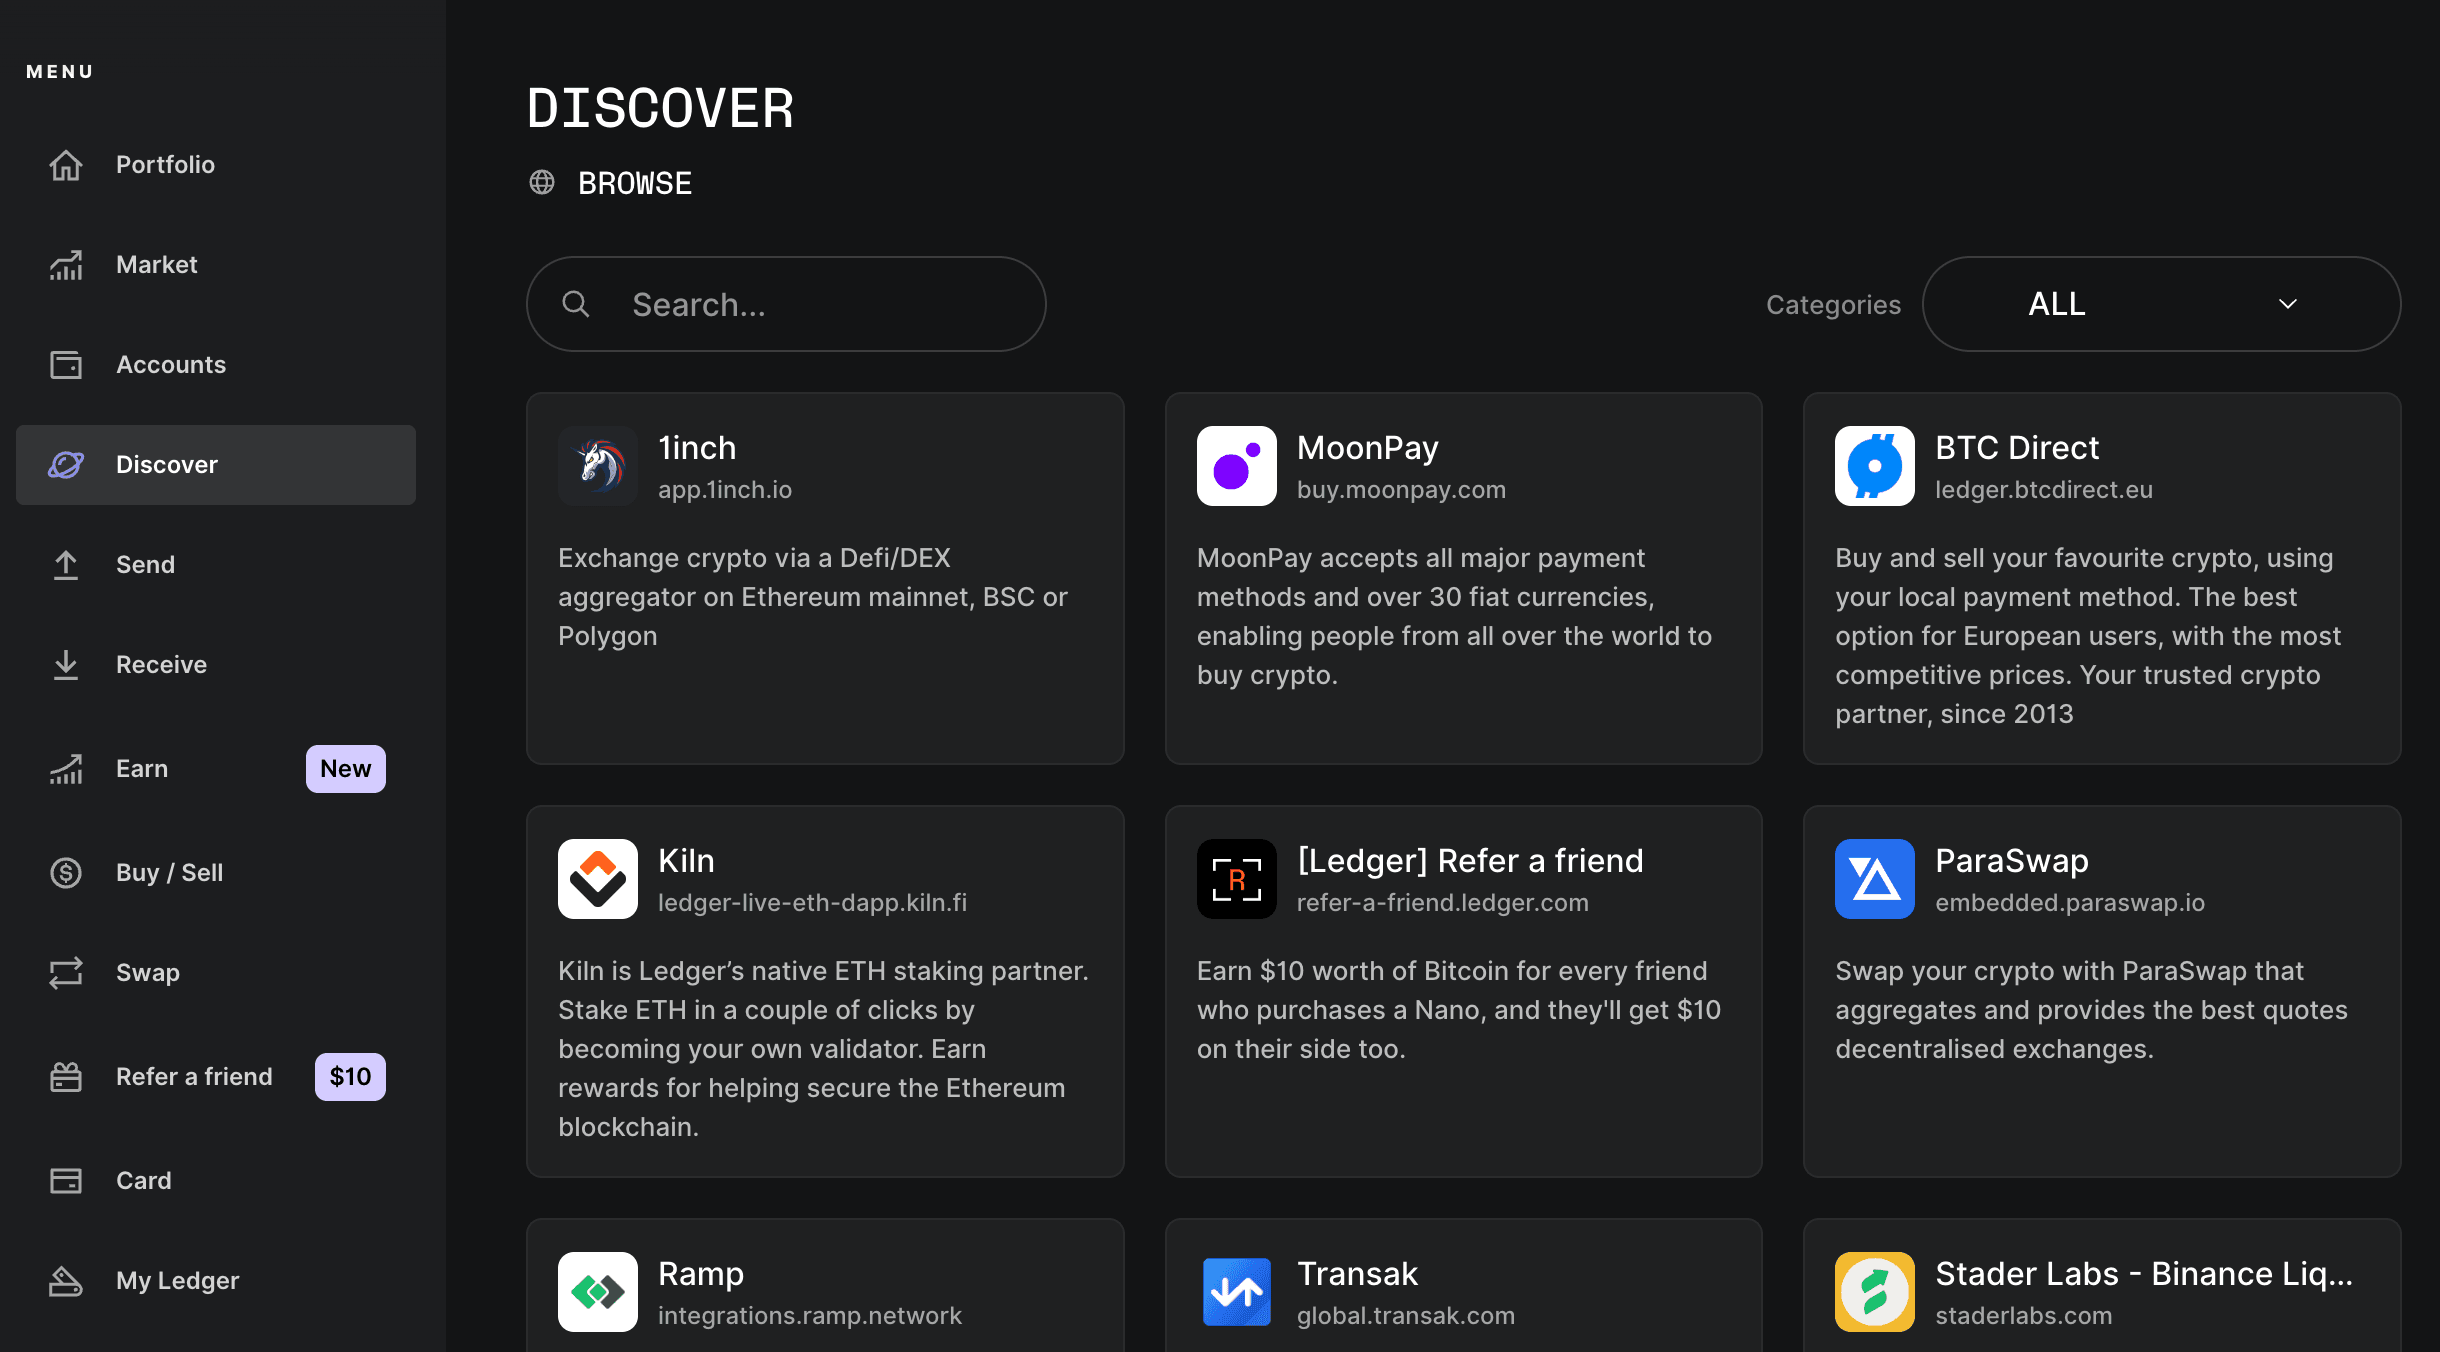
Nested within the interface of Ledger Live, our Discover section offers a curated selection of apps, called Live Apps, to our audience. It provides the assurance to our user that those apps have been tested and can interact with their Ledger device. The curated apps are chosen by our business team.
All other applications are accessible through a search Bar with automatic connection to your wallet, clear signing with hardware wallet security. This service is free for users and for partners
A Live App incorporates the Wallet API, providing convenience and security for Ledger Live users when interacting with web3 projects. If you have or want to build a Web3 or Web2.5 app, then you’re eligible to turn your app into a Live App.
DApps, Web Apps, Web3 and Web2.5 apps?
-
Traditional Web Applications (Web Apps or Web2 Apps)
They function on centralized servers under the authority of singular entities. They follow a client-server architecture where the client (user) interacts with services provided by the server.
-
Decentralized Applications (DApps or Web3 Apps)
The word DApps was popularized in the context of Ethereum. The famous blockchain was the first to offer smart contract capabilities, thus laying the foundation to a new world of Apps that would use the blockchain as their decentralized backend, instead of relying on usual centralized servers. Even though the scope of DApps has today evolved to encompass much more than the Ethereum blockchain, with a lot of chains now offering Smart Contract capabilities, the official Ethereum documentation (opens in a new tab) offers a comprehensive explanation to the caracteristics of a Decentralized Application (or Web3 App).
-
Hybrid Applications (Hybrid Apps or Web2.5 Apps)
DApps imply working with smart contracts which doesn’t come without any risks. Before taking that step, some developers will adopt a hybrid approach by relying on Wallet Authentication for their apps without adopting smart contracts. Thus, apps that offer the possibility to authenticate with a wallet while keeping a traditional Client-Server architecture for their services fall into this category.
Pathways to Integration: DAppBrowser vs. Wallet API
There are two options when it comes to integrating into Ledger Live
- The dAppBrowser (EVM Only for now)
This one is only available to EVM based dApps for now. By crafting a manifest, directing it to the DAppBrowser, and incorporating the Iframe Provider in their app, developers can quickly add their application to Ledger Live.
- The Wallet API
The Wallet API pathway is more code-intensive, requiring a deeper engagement from developers. However, it grants a more granular control over the core wallet features within Ledger Live. A thorough understanding of the Wallet API can be gleaned from the official documentation.
The path you chose is yours to decide, we'll provide you guidelines for both roads.