# React Native Bluetooth on Android (Nano X only)## IntroductionIn this section you will see how to create a React Native application using the [@ledgerhq/react-native-hw-transport-ble](https://github.com/LedgerHQ/ledger-live/tree/develop/libs/ledgerjs/packages/react-native-hw-transport-ble).
For this project some general prerequisites are mandatory and you can find them [here](../../getting-started#prerequisites).Then you can now go through the prerequisite for Android development below.## One-time setup### EnvironnementMake sure you go through:1) the [prerequisites](../../info#prerequisites).
2) the [Mobile Environment Setup](./environment-setup).### Environnement variablesIf you are using bash, put the environment variable into the bash\_profile as below:```console copy
cd ~/
touch ~/.bash_profile;
open -e .bash_profile
``````console copy
export ANDROID_HOME=$HOME/Library/Android/sdk
export PATH=$PATH:$ANDROID_HOME/emulator
export PATH=$PATH:$ANDROID_HOME/tools
export PATH=$PATH:$ANDROID_HOME/tools/bin
export PATH=$PATH:$ANDROID_HOME/platform-tools
```Do the same if you are using zsh or anything else. Remember the file will be named differently (eg. zsh => .zprofile)## App CodingNow that we have set up the prerequisites, you can now create the application.
In this integration, we will use the ethereum application.### App setupFirst, open a terminal and create a new project. For this tutorial the project will be named “myAndroidBTApp”.Run:```console copy
react-native init myAndroidBTApp
cd myAndroidBTApp
```> **Note:** The dependencies of 'CocoaPods' may take some time to initialize.### FilesRun:```console copy
mkdir src
touch polyfill.js
touch src/DeviceItem.js
touch src/DeviceSelectionScreen.js
touch src/ShowAddressScreen.js
```#### polyfill.jsIn "polyfill.js", copy-paste the following code:```javascript copy
global.Buffer = require("buffer").Buffer;
```#### index.jsThen import the "polyfill.js" in "index.js" as shown below:```javascript copy
/**
* @format
*/
import "./polyfill"; //import this
import { AppRegistry } from "react-native";
import App from "./src/App"; //modify this import
import { name as appName } from "./app.json";
AppRegistry.registerComponent(appName, () => App);
```#### App.jsMove the file named "App.js" in the "src" folder and copy-paste the following code:```javascript copy
import React, { Component } from "react";
import DeviceSelectionScreen from "./DeviceSelectionScreen";
import ShowAddressScreen from "./ShowAddressScreen";
import TransportBLE from "@ledgerhq/react-native-hw-transport-ble";
// This is helpful if you want to see BLE logs. (only to use in dev mode)
class App extends Component {
state = {
transport: null,
};
onSelectDevice = async (device) => {
const transport = await TransportBLE.open(device);
transport.on("disconnect", () => {
// Intentionally for the sake of simplicity we use a transport local state
// and remove it on disconnect.
// A better way is to pass in the device.id and handle the connection internally.
this.setState({ transport: null });
});
this.setState({ transport });
};
render() {
const { transport } = this.state;
if (!transport) {
return ;
}
return ;
}
}
export default App;
```In "DeviceItem.js" copy-paste the following code:```javascript copy
import React, { Component } from "react";
import {
Text,
TouchableOpacity,
StyleSheet,
ActivityIndicator,
} from "react-native";
class DeviceItem extends Component {
state = {
pending: false,
};
onPress = async () => {
this.setState({ pending: true });
try {
await this.props.onSelect(this.props.device);
} finally {
this.setState({ pending: false });
}
};
render() {
const { device } = this.props;
const { pending } = this.state;
return (
{device.name}
{pending ? : null}
);
}
}
export default DeviceItem;
const styles = StyleSheet.create({
deviceItem: {
paddingVertical: 16,
paddingHorizontal: 32,
marginVertical: 8,
marginHorizontal: 16,
borderColor: "#ccc",
borderWidth: 1,
flexDirection: "row",
alignItems: "center",
justifyContent: "space-between",
},
deviceName: {
fontSize: 20,
fontWeight: "bold",
},
});
```In "DeviceSelectionScreen.js" copy-paste the following code:```javascript copy
import React, { Component } from "react";
import {
StyleSheet,
Text,
View,
TouchableOpacity,
FlatList,
Platform,
PermissionsAndroid
} from "react-native";
import { Observable } from "rxjs";
import AppEth from "@ledgerhq/hw-app-eth";
import TransportBLE from "@ledgerhq/react-native-hw-transport-ble";
import QRCode from "react-native-qrcode-svg";
import DeviceItem from "./DeviceItem";
const deviceAddition = device => ({ devices }) => ({
devices: devices.some(i => i.id === device.id)
? devices
: devices.concat(device)
});
class DeviceSelectionScreen extends Component {
state = {
devices: [],
error: null,
refreshing: false
};
async componentDidMount() {
// NB: this is the bare minimal. We recommend to implement a screen to explain to user.
if (Platform.OS === "android") {
await PermissionsAndroid.request(
PermissionsAndroid.PERMISSIONS.ACCESS_COARSE_LOCATION
);
}
let previousAvailable = false;
new Observable(TransportBLE.observeState).subscribe(e => {
if (e.available !== previousAvailable) {
previousAvailable = e.available;
if (e.available) {
this.reload();
}
}
});
this.startScan();
}
componentWillUnmount() {
if (this.sub) this.sub.unsubscribe();
}
startScan = async () => {
this.setState({ refreshing: true });
this.sub = new Observable(TransportBLE.listen).subscribe({
complete: () => {
this.setState({ refreshing: false });
},
next: e => {
if (e.type === "add") {
this.setState(deviceAddition(e.descriptor));
}
// NB there is no "remove" case in BLE.
},
error: error => {
this.setState({ error, refreshing: false });
}
});
};
reload = async () => {
if (this.sub) this.sub.unsubscribe();
this.setState(
{ devices: [], error: null, refreshing: false },
this.startScan
);
};
keyExtractor = (item: *) => item.id;
onSelectDevice = async device => {
try {
await this.props.onSelectDevice(device);
} catch (error) {
this.setState({ error });
}
};
renderItem = ({ item }: { item: * }) => {
return ;
};
ListHeader = () => {
const { error } = this.state;
return error ? (
Sorry, an error occured
{String(error.message)}
) : (
Scanning for Bluetooth...
Power up your Ledger Nano X and enter your pin.
);
};
render() {
const { devices, error, refreshing } = this.state;
return (
);
}
}
export default DeviceSelectionScreen;
const styles = StyleSheet.create({
header: {
paddingTop: 80,
paddingBottom: 36,
alignItems: "center"
},
headerTitle: {
fontSize: 22,
marginBottom: 16
},
headerSubtitle: {
fontSize: 12,
color: "#999"
},
list: {
flex: 1
},
errorTitle: {
color: "#c00",
fontSize: 16,
marginBottom: 16
}
});
```In "ShowAddressScreen.js" copy-paste the following code:```javascript copy
import React, { Component } from "react";
import { StyleSheet, Text, View } from "react-native";
import AppEth from "@ledgerhq/hw-app-eth";
import TransportBLE from "@ledgerhq/react-native-hw-transport-ble";
import QRCode from "react-native-qrcode-svg";
const delay = (ms) => new Promise((success) => setTimeout(success, ms));
class ShowAddressScreen extends Component {
state = {
error: null,
address: null,
};
async componentDidMount() {
while (!this.state.address) {
if (this.unmounted) return;
await this.fetchAddress(false);
await delay(500);
}
await this.fetchAddress(true);
}
async componentWillUnmount() {
this.unmounted = true;
}
fetchAddress = async (verify) => {
const { transport } = this.props;
try {
const eth = new AppEth(transport);
const path = "44'/60'/0'/0/0"; // HD derivation path
const { address } = await eth.getAddress(path, verify);
if (this.unmounted) return;
this.setState({ address });
} catch (error) {
// in this case, user is likely not on Ethereum app
if (this.unmounted) return;
this.setState({ error });
return null;
}
};
render() {
const { address, error } = this.state;
return (
{!address ? (
<>
Loading your Ethereum address...
{error ? (
A problem occurred, make sure to open the Ethereum application
on your Ledger Nano X. (
{String((error && error.message) || error)})
) : null}
) : (
<>
Ledger Live Ethereum Account 1
{address}
)}
);
}
}
export default ShowAddressScreen;
const styles = StyleSheet.create({
ShowAddressScreen: {
flex: 1,
padding: 16,
alignItems: "center",
justifyContent: "center",
},
error: {
color: "#c00",
fontSize: 16,
},
loading: {
color: "#999",
fontSize: 16,
},
title: {
fontSize: 22,
marginBottom: 16,
},
address: {
marginTop: 16,
color: "#555",
fontSize: 14,
},
});
```The folder will contain these files:
_Fig. 4: Folder of the Application_### Dependencies#### InstallationRun:```console copy
npm install --save react-native-qrcode-svg
npm install --save react-native-svg
npm install --save rxjs
npm install --save @ledgerhq/react-native-hw-transport-ble
npm install --save react-native-ble-plx
npx react-native link react-native-ble-plx
npm install --save buffer
npm install --save @ledgerhq/hw-app-eth
```| Package | What it does |
| ---------------------------------------------------------------------------------------------------------------------------------- | ---------------------------------------------------------------------------------------------------- |
| [react-native-qrcode-svg](https://www.npmjs.com/package/react-native-qrcode-svg) | It allows you to create a QR code. |
| [react-native-svg](https://www.npmjs.com/package/react-native-svg) | It is a mandatory package to use **react-native-qrcode-svg** |
| [rxjs](https://www.npmjs.com/package/rxjs) | It is a rewrite of "Reactive-Extensions/RxJS" and is the latest production-ready version of RxJS. |
| [@ledgerhq/hw-transport-web-ble](https://github.com/LedgerHQ/ledger-live/tree/develop/libs/ledgerjs/packages/hw-transport-web-ble) | It provides you with all the methods to interact with your Ledger Nano X with a Bluetooth connexion. |
| [react-native-ble-plx](https://www.npmjs.com/package/react-native-ble-plx) | It scans the bluetooth devices. |
| [buffer](https://www.npmjs.com/package/buffer) | The goal is to provide an API that is 100% identical to node's Buffer API. |
| [hw-app-eth](https://github.com/LedgerHQ/ledger-live/tree/develop/libs/ledgerjs/packages/hw-app-eth) | It helps you ask your Ledger device to access the ethereum address. |#### package.jsonNow that the dependencies are installed you can find them in the “package.js”.
This is how your “package.json” has to look like.```javascript copy
{
"name": "myAndroidBTApp",
"version": "0.0.1",
"private": true,
"scripts": {
"android": "react-native run-android",
"ios": "react-native run-ios",
"start": "react-native start",
"test": "jest",
"lint": "eslint ."
},
"dependencies": {
"@ledgerhq/hw-app-eth": "^6.16.2",
"@ledgerhq/react-native-hw-transport-ble": "^6.15.0",
"buffer": "^6.0.3",
"react": "17.0.2",
"react-native": "0.66.3",
"react-native-ble-plx": "^2.0.3",
"react-native-qrcode-svg": "^6.1.1",
"react-native-svg": "^12.1.1",
"rxjs": "^7.4.0"
},
"devDependencies": {
"@babel/core": "^7.16.0",
"@babel/runtime": "^7.16.3",
"@react-native-community/eslint-config": "^3.0.1",
"babel-jest": "^27.3.1",
"eslint": "^8.3.0",
"jest": "^27.3.1",
"metro-react-native-babel-preset": "^0.66.2",
"react-test-renderer": "17.0.2"
},
"jest": {
"preset": "react-native"
}
}
```#### Build.gradle ModificationIn “build.gradle”, in the "android" folder change `minSdkVersion = 21` to `minSdkVersion = 24`.
_Fig. 5: Build.gradle Modify the minSdkVersion_You can now test the application you have built.## App LaunchApp testing is done on your smartphone because the Android Studio emulator cannot use Bluetooth or USB connexions.> **Note:** Please refer to the information for [Android Emulator Limitation](https://stackoverflow.com/questions/22604305/how-to-use-android-emulator-for-testing-bluetooth-application).### Enable Developer SettingsTo integrate an application on your Android smartphone you have to enable the developer role.
To do that go to Settings > About Phone > Build Number, and tap 7 times on build number to enable the developer settings.Then go to Settings > System > Advanced > Developer Options and enable the "USB debugging" as well as "Install via USB"Connect your phone to your computer, and run the command below to check your device is connected:```console copy
adb devices
```If all goes well, the list of devices is displayed as shown below:\
Fig. 6: Device Connected On The Machine> **Note:** For more information about enabling the developer settings on your android
> device go to [android studio
> docs](https://developer.android.com/studio/debug/dev-options).### Start the Development ServerYou can now open a terminal, go to the "myAndroidBTApp" folder, and start the server by running:```console copy
npm start
```### Install the App on DeviceKeep the terminal where "metro" is running open and open a new terminal.
In this new terminal go to your app folder:```console copy
cd myAndroidBTApp
```Run the command below to install the application on your android device. It assumes your smartphone is connected and your device is recognized by the command `adb devices` as mentioned in the [Previous Step](#enable-developer-settings).```console copy
npm run android
```A window will pop up on your android device to install the application. Click on "Yes" to install it and run it.\
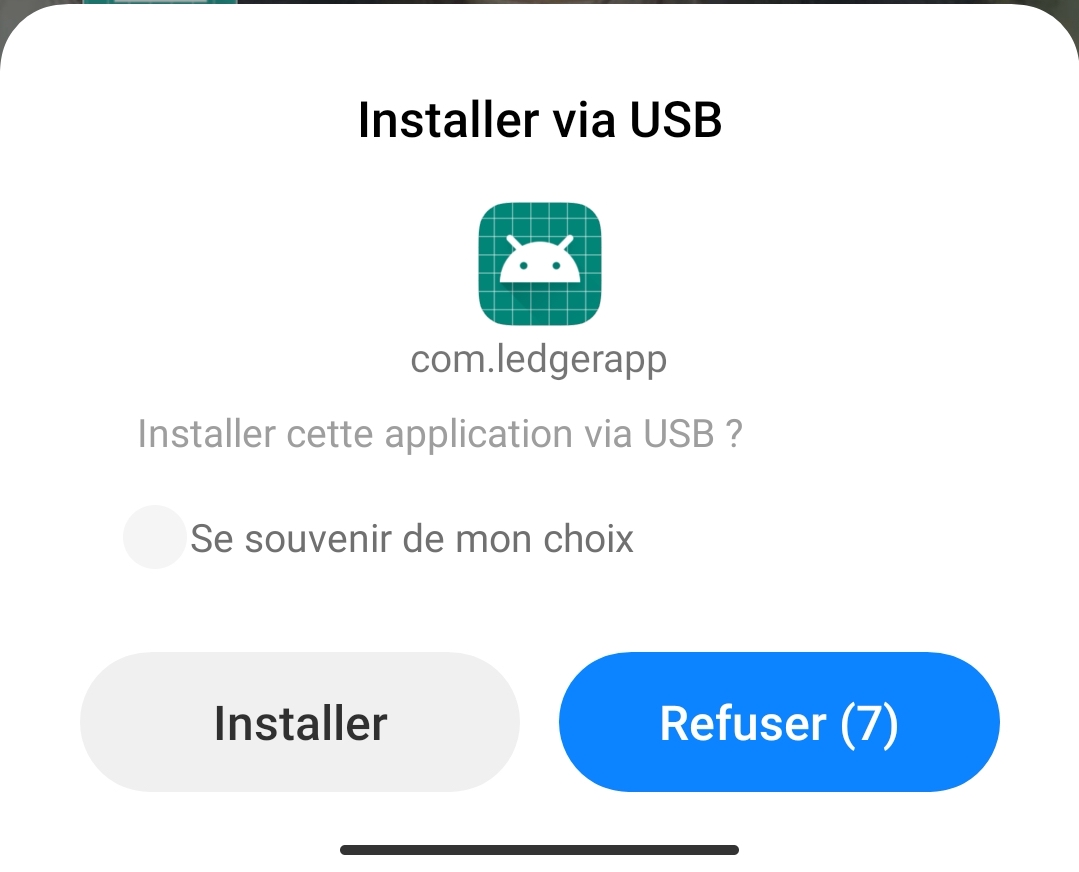Fig. 7: Mobile Application Installation### Launching the AppWhen launching the application it will be displayed as the image below. You must have the Bluetooth and location activated.\
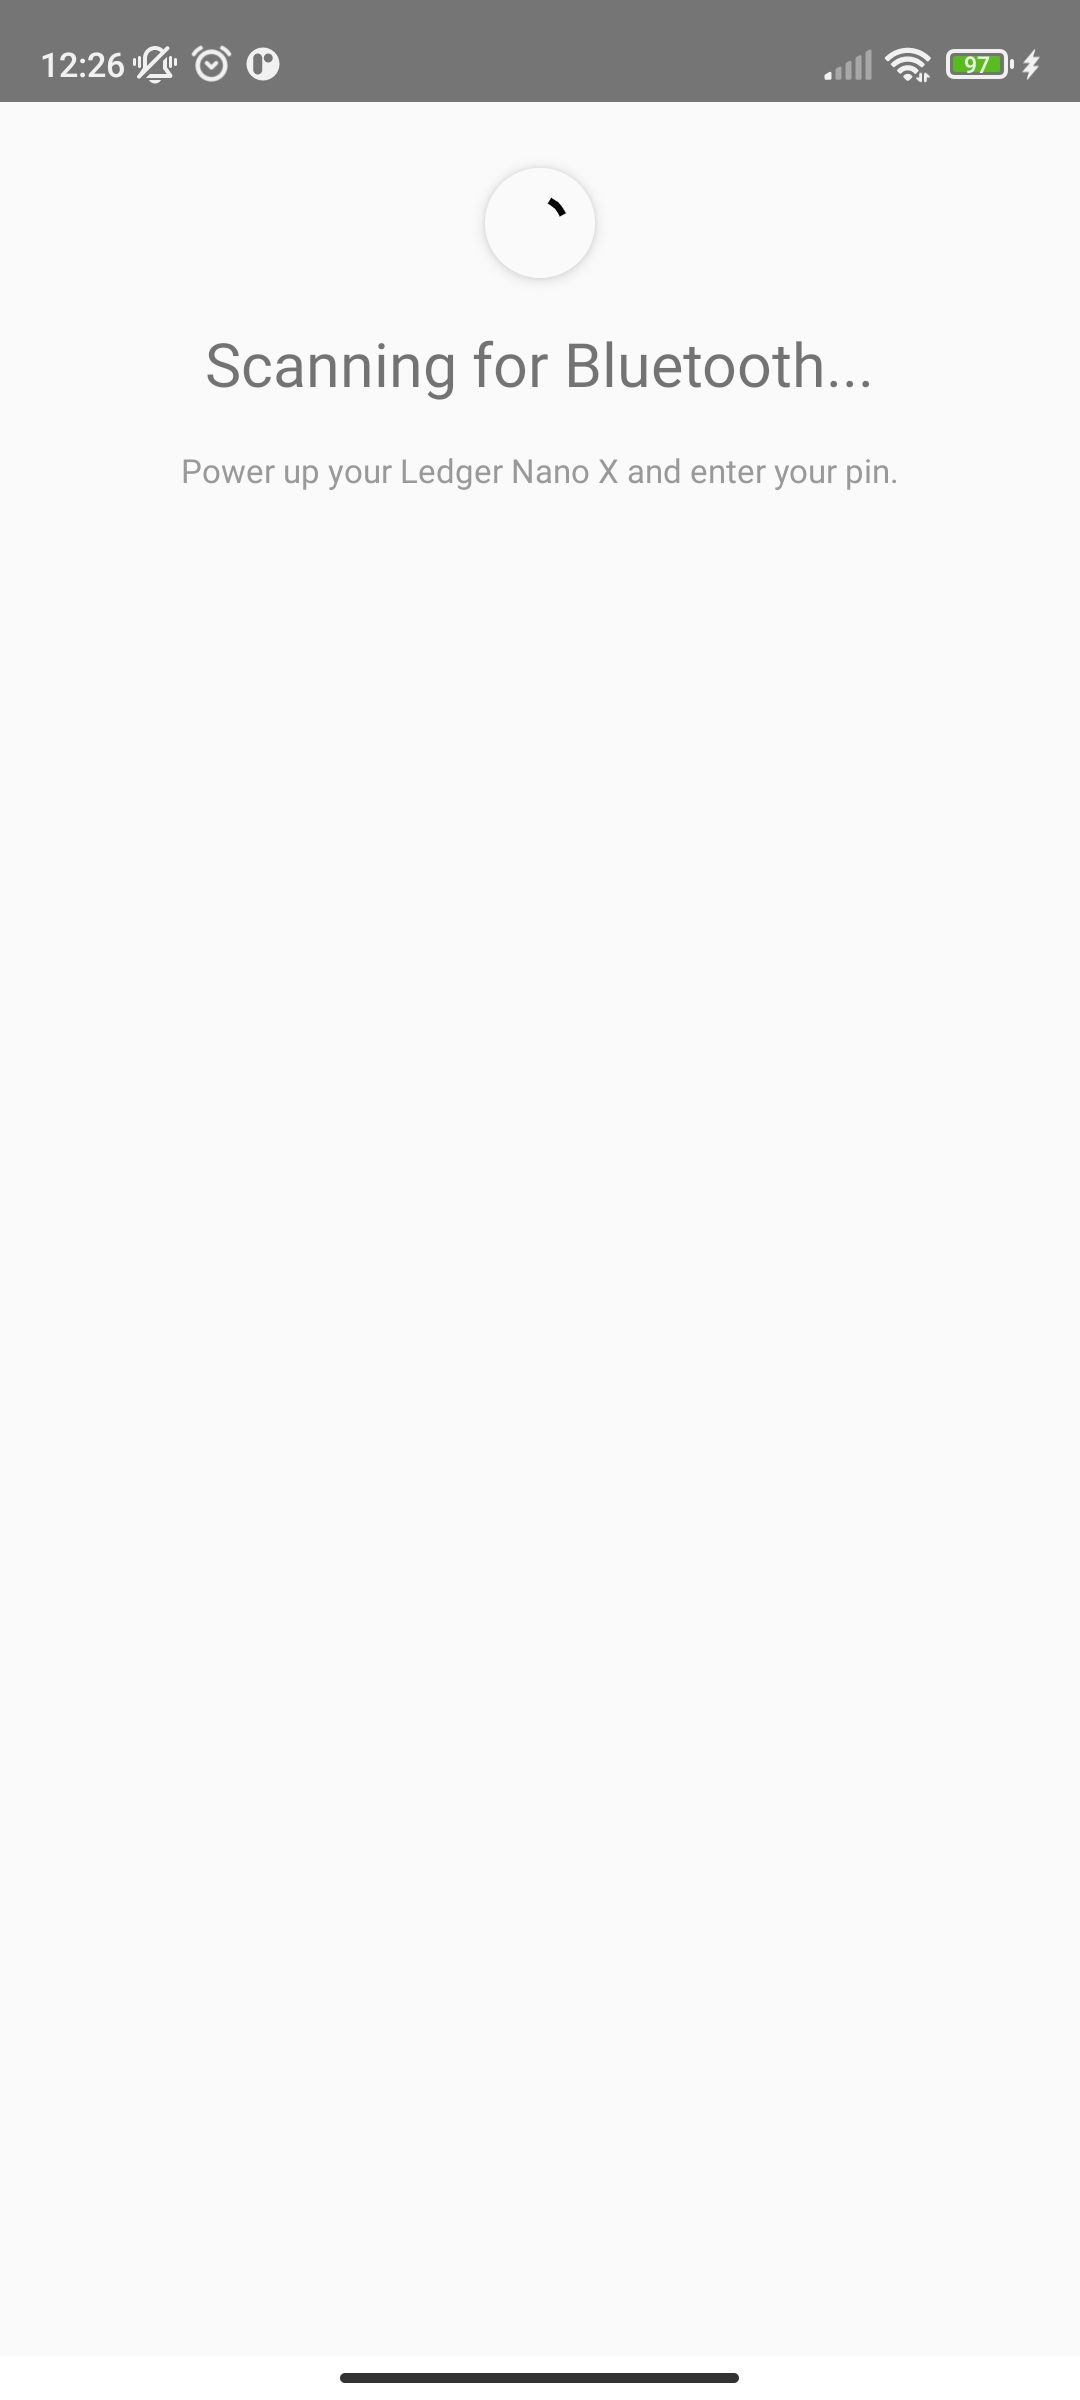Fig. 8: Application Displayed on SmartphoneIf this is not what you see, you may get:\
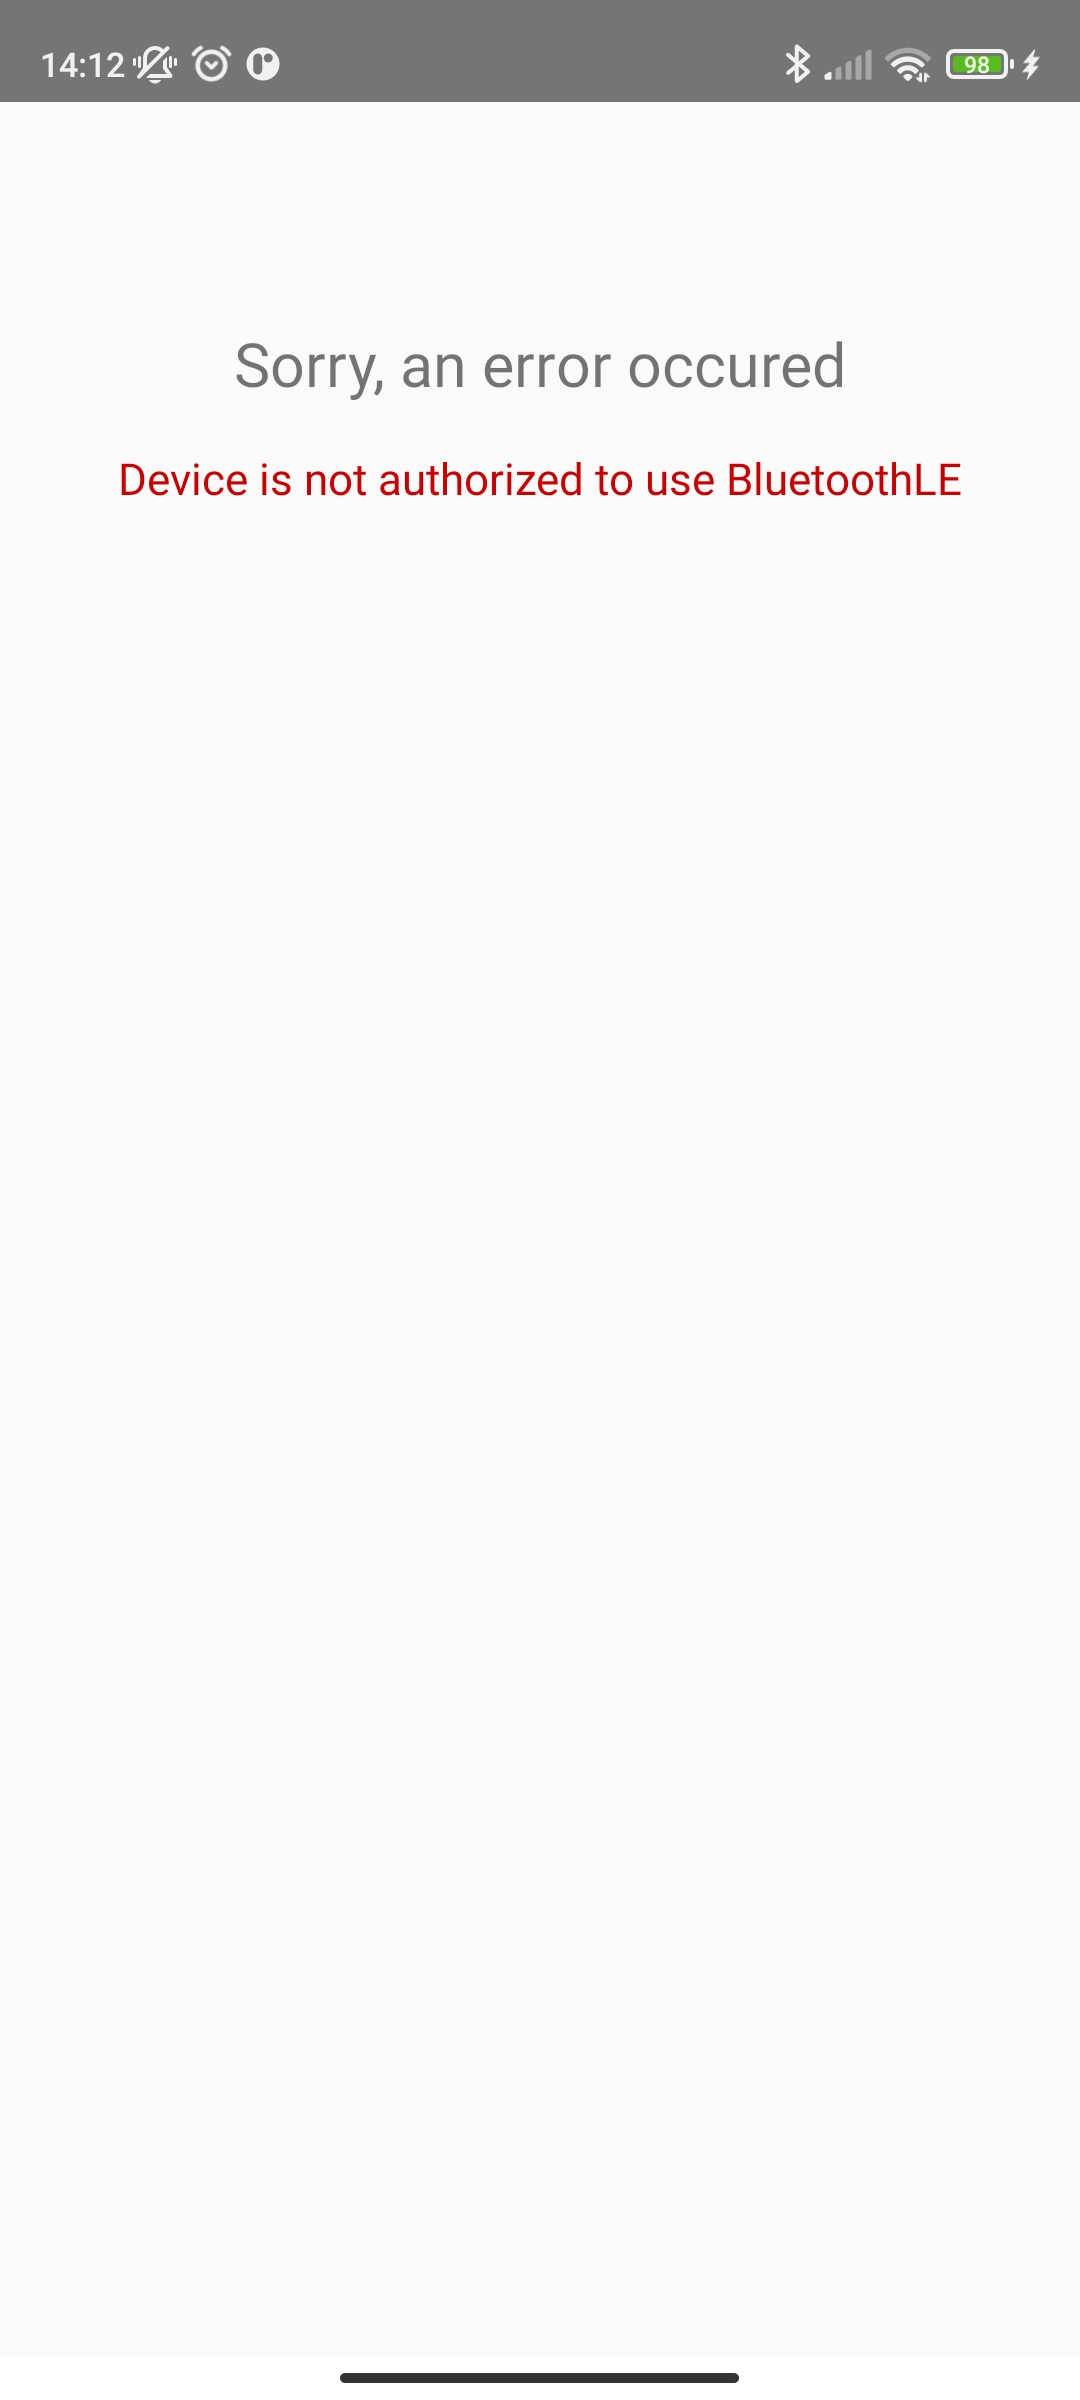\
\
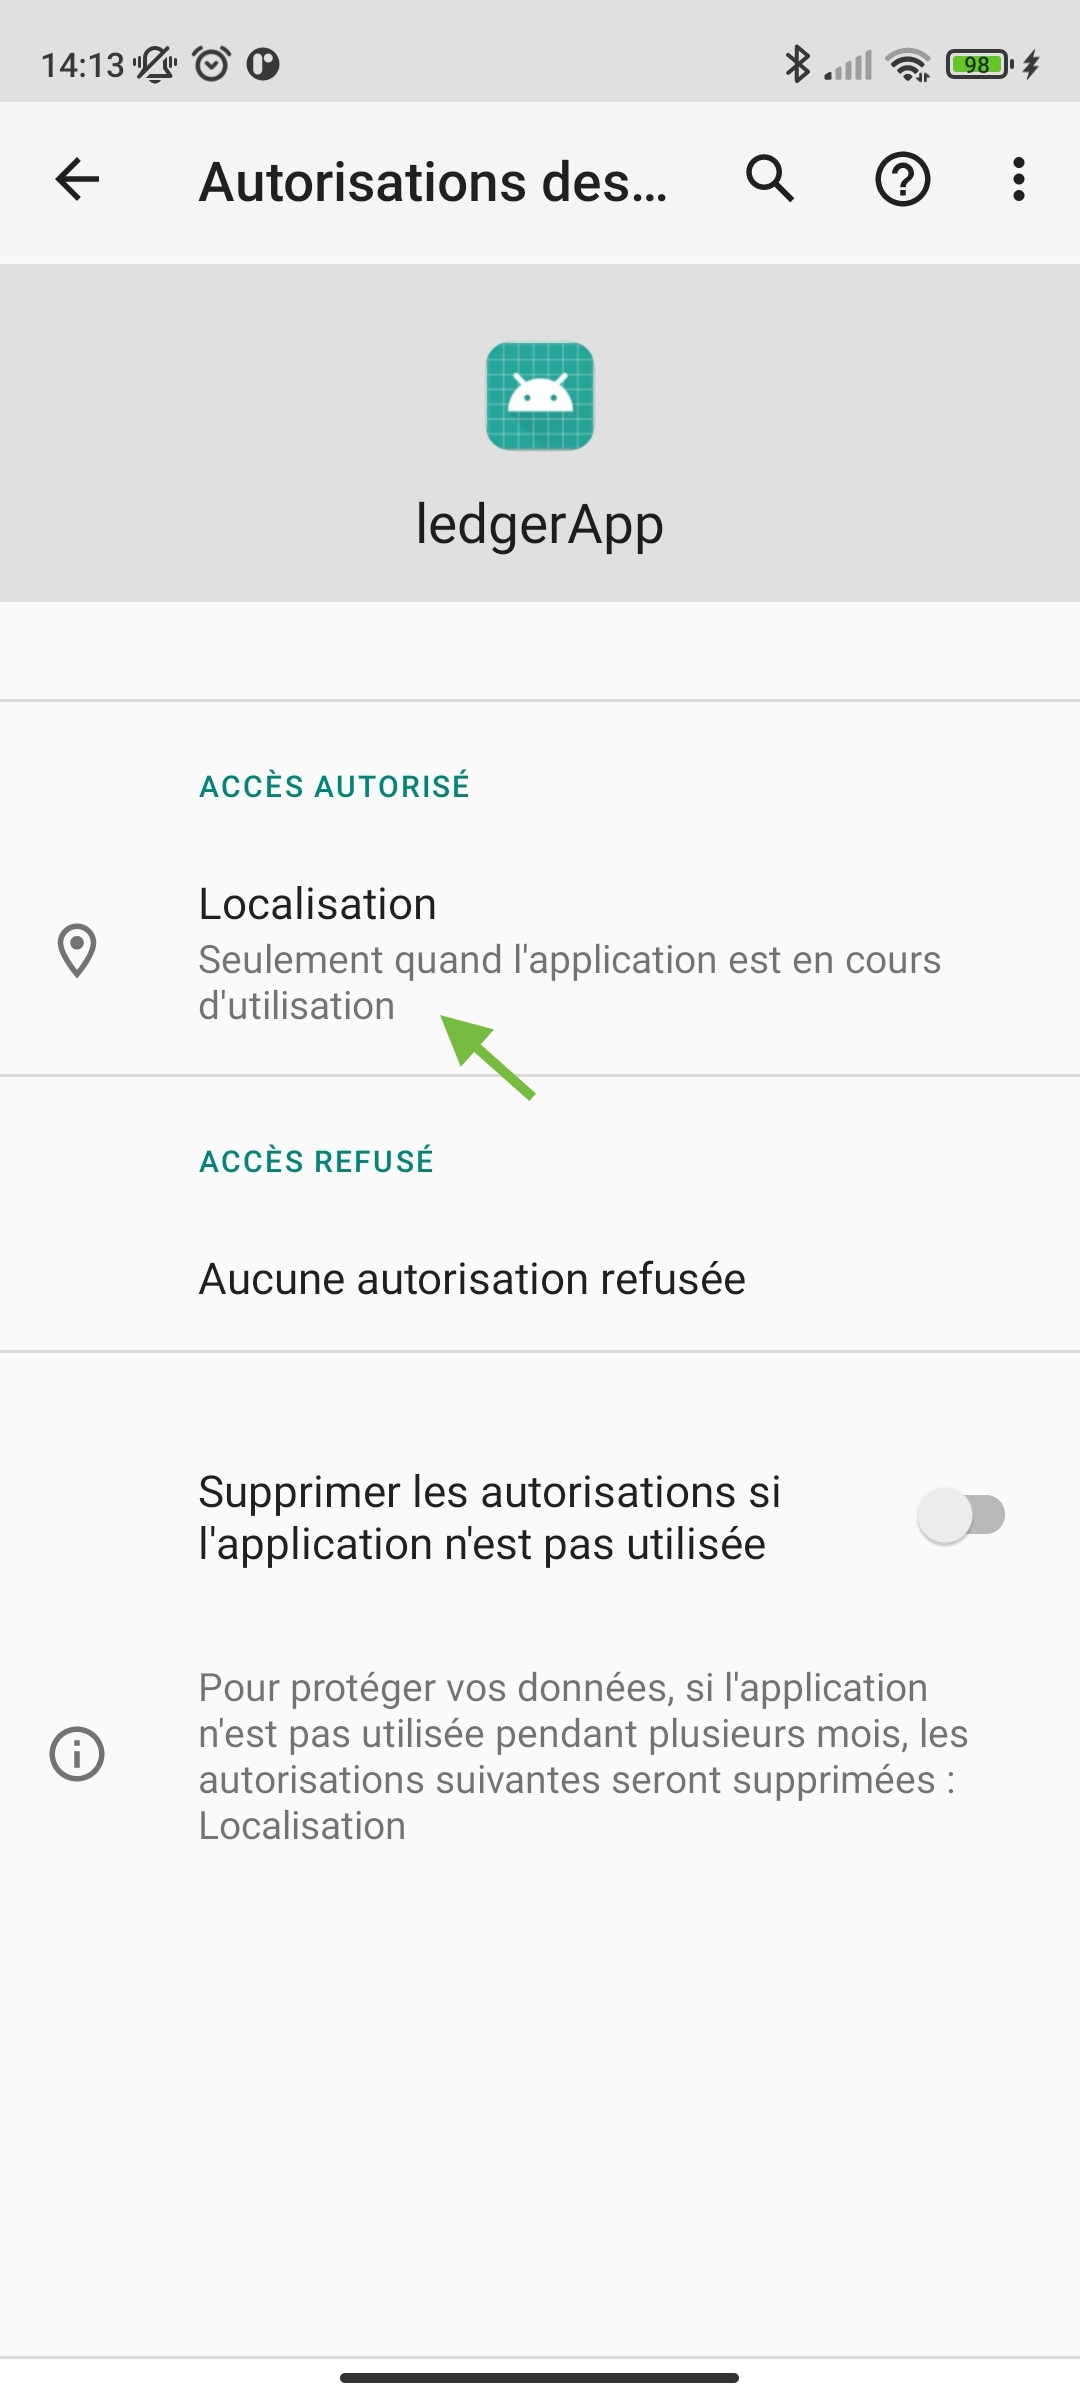\
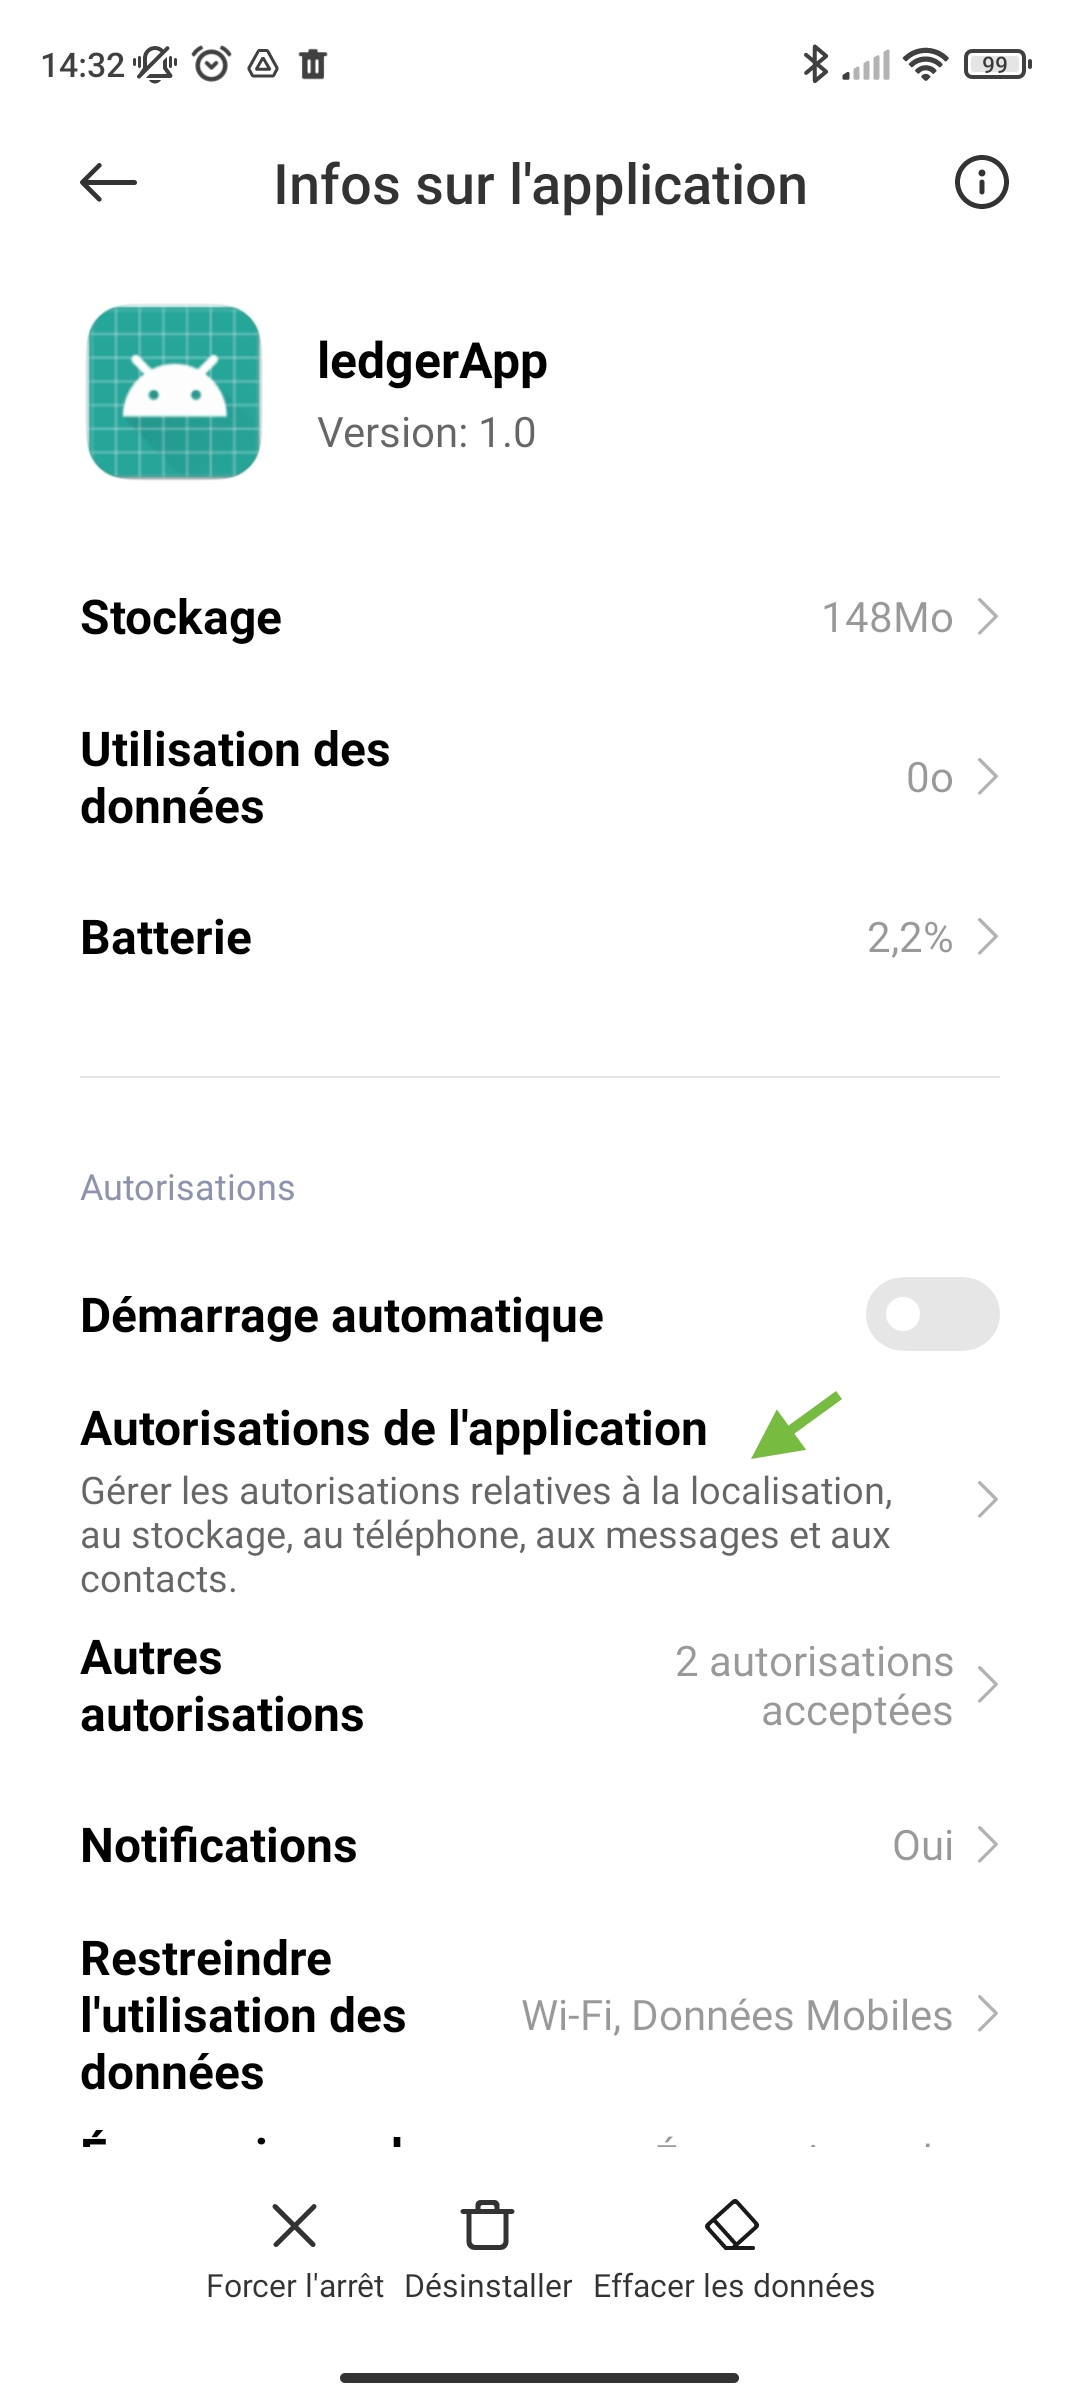
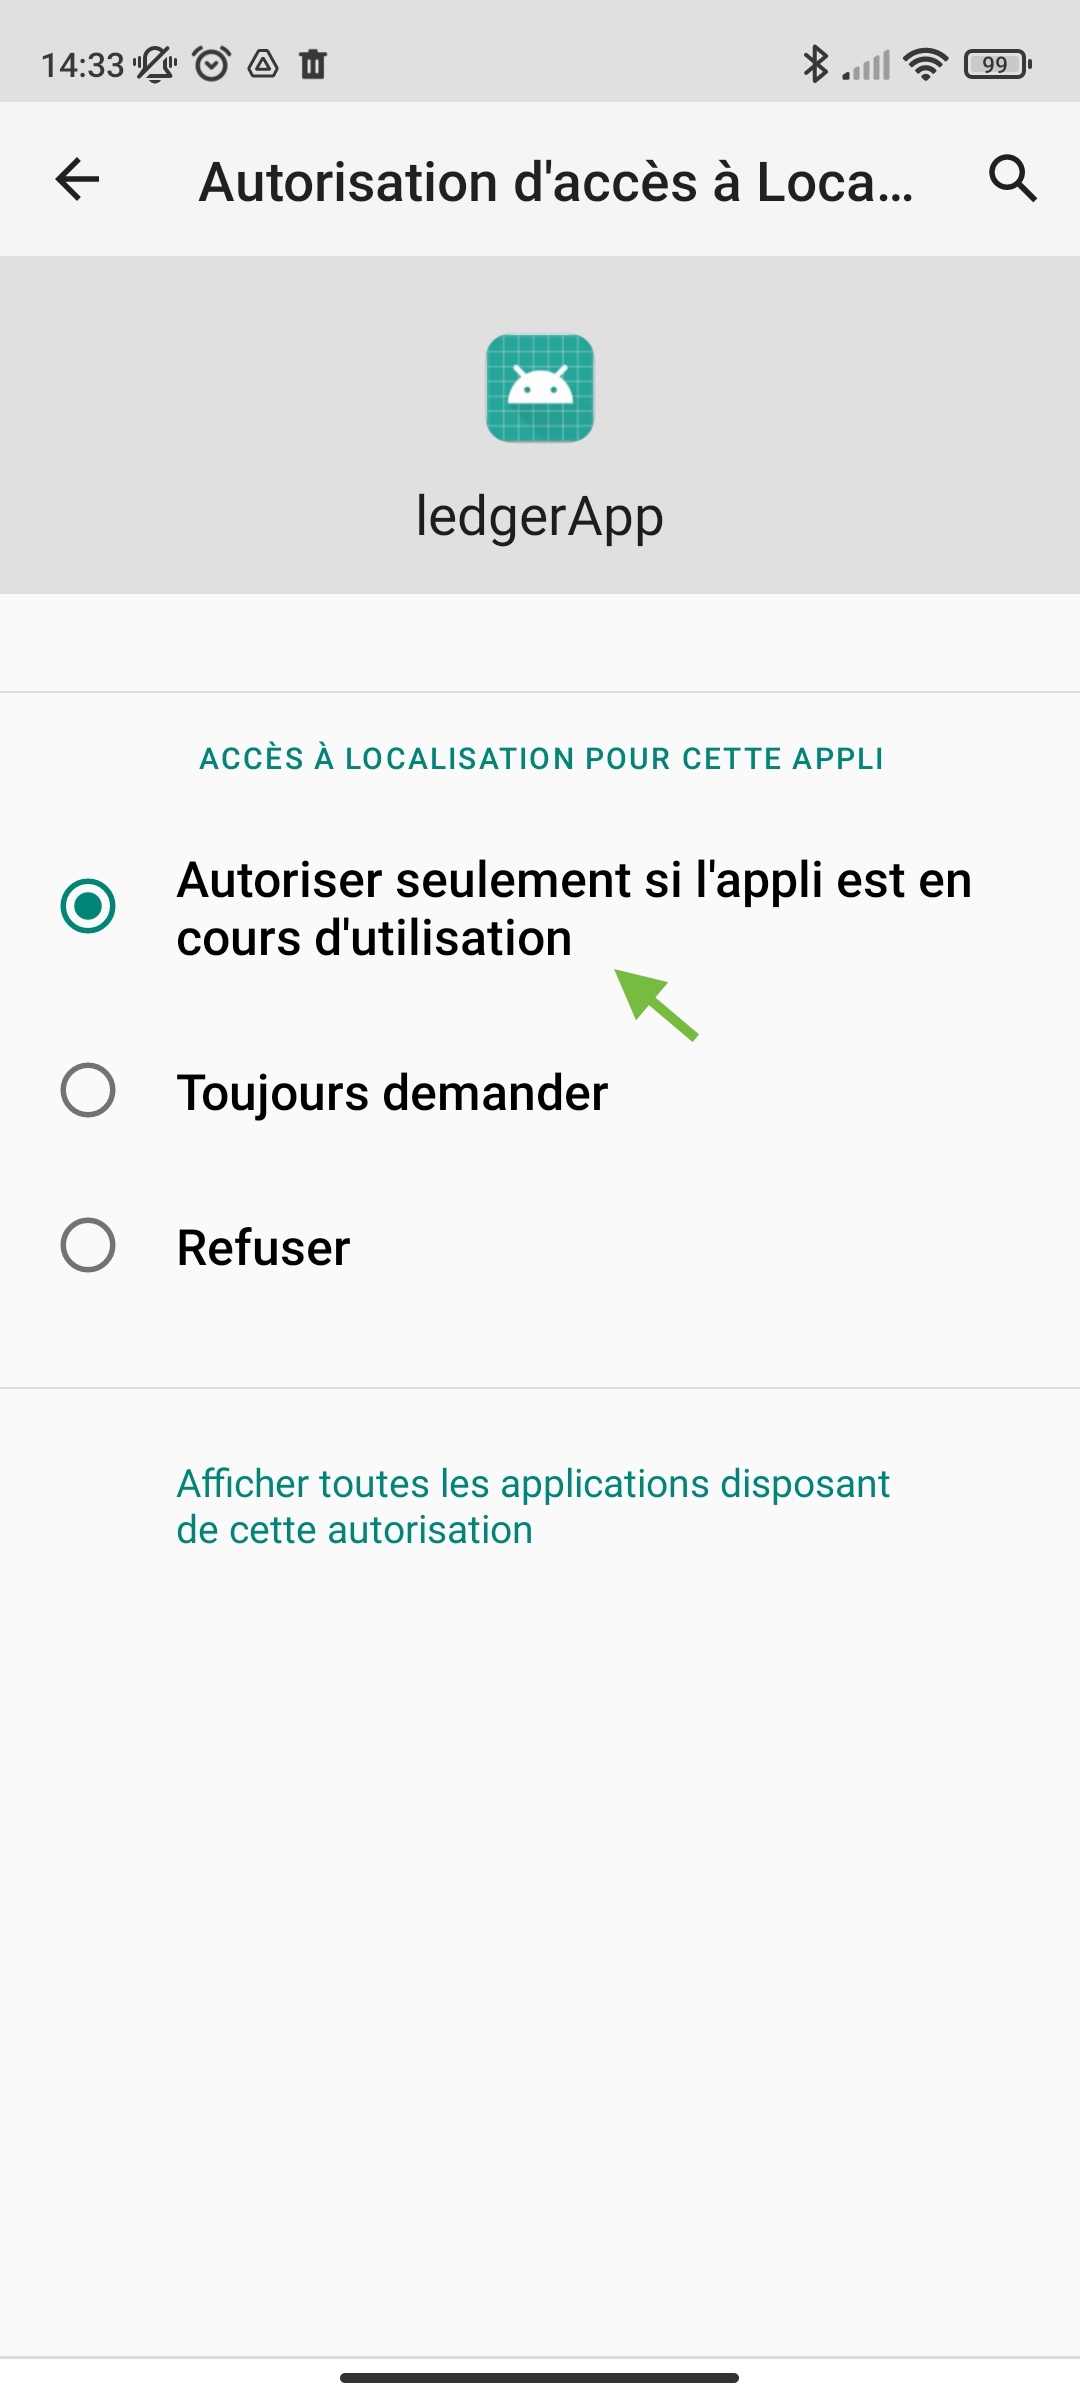Fig. 9: Authorize the Bluetooth> **Note:** For more information about enabling the Bluetooth settings on your android
> device go to the troubleshooting tab.### Pairing the Ledger Nano XTo pair your Ledger Nano X, unlock it.\
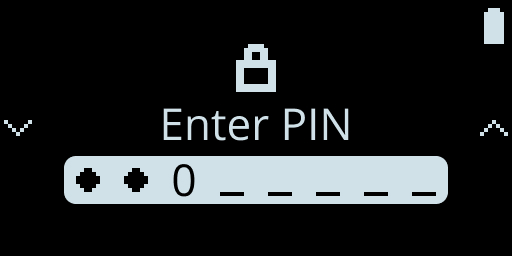Fig. 10: Nano Code PinNow try to pair the Ledger Nano X to your android smartphone.\
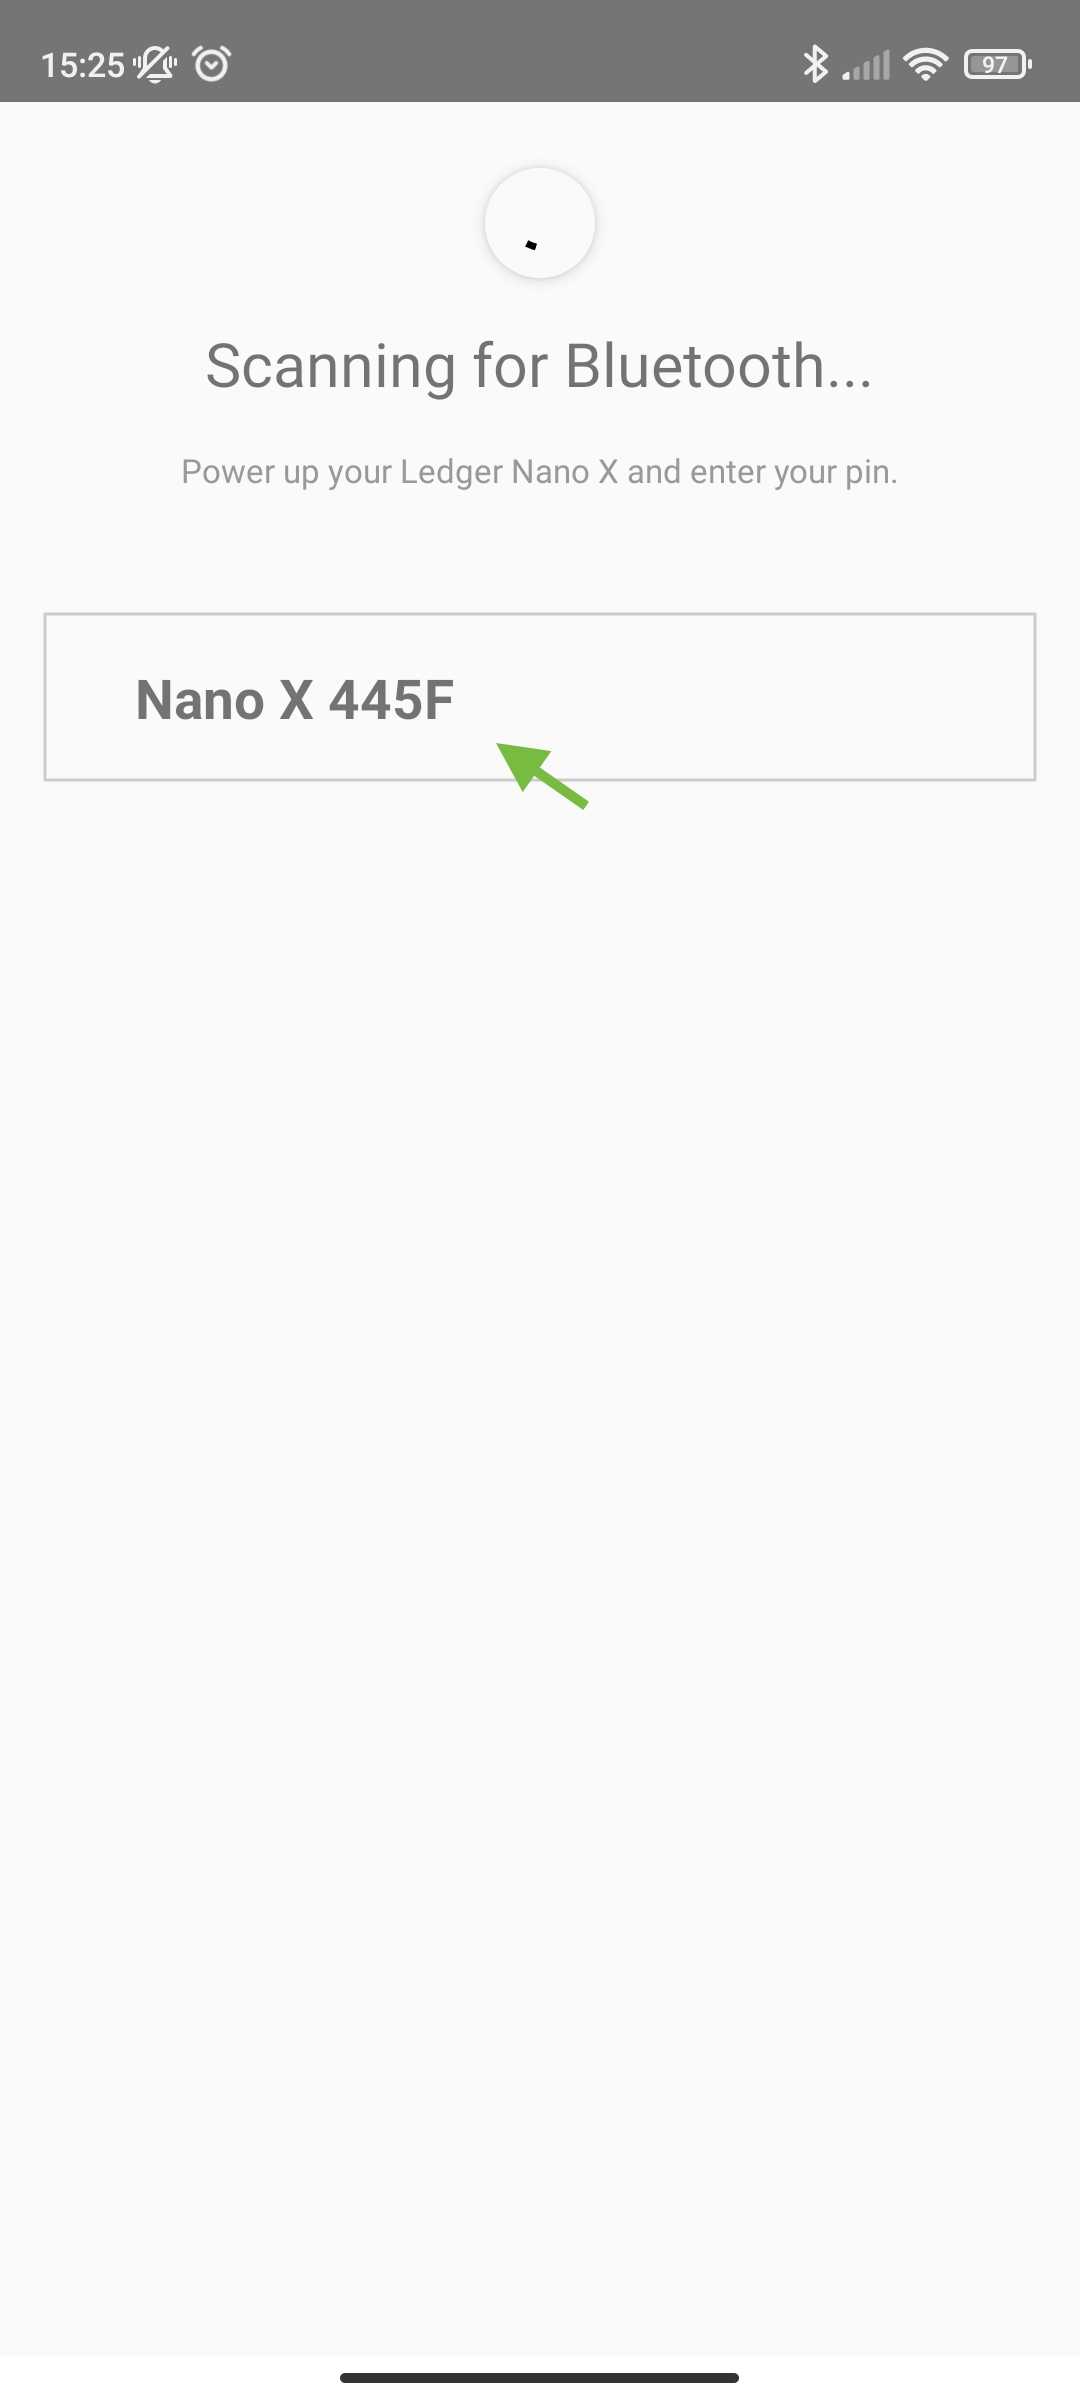\
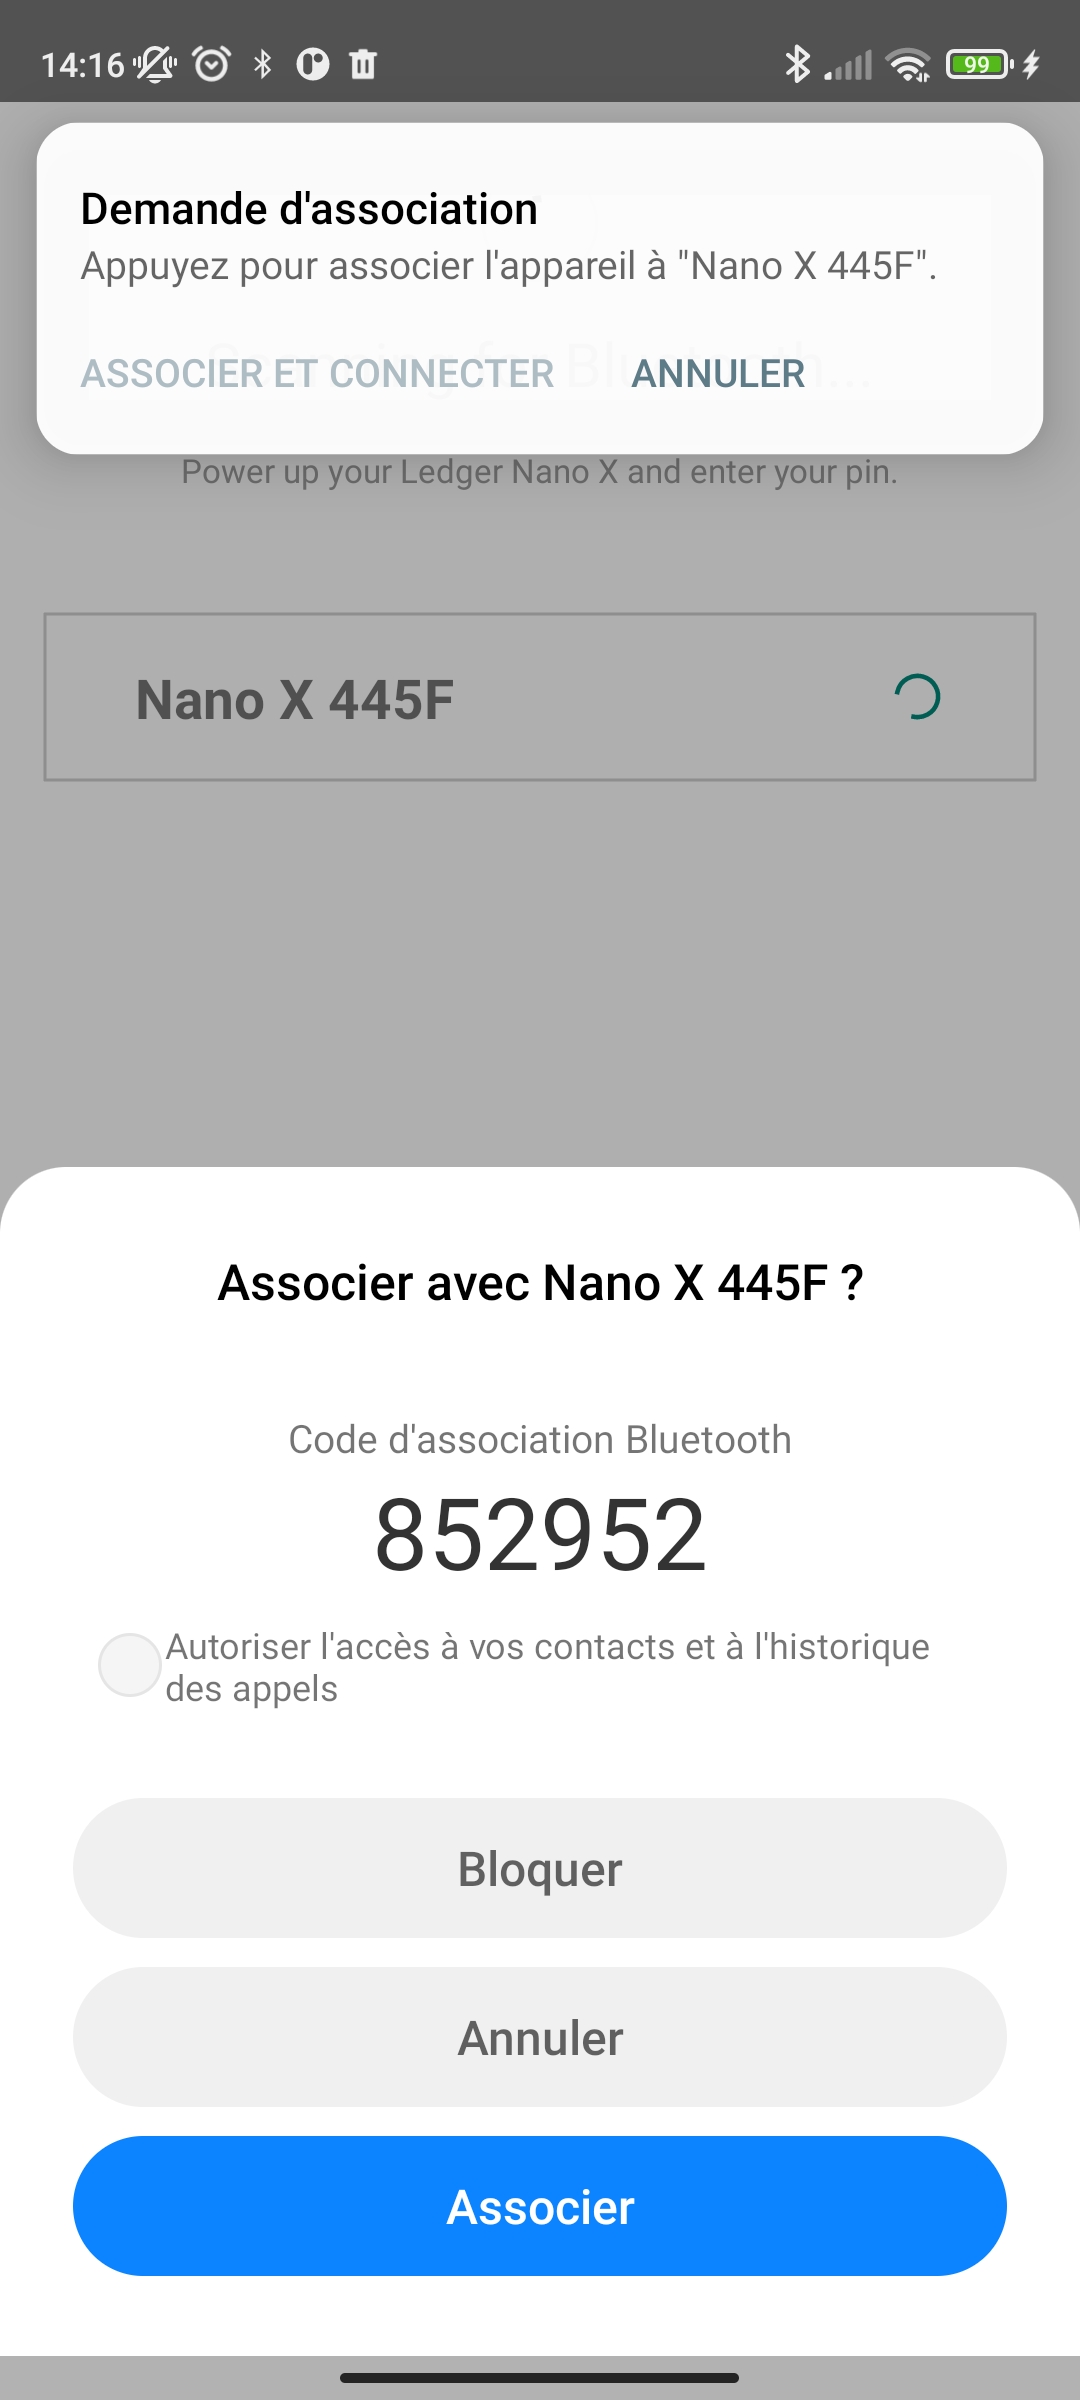Fig. 11: Pairing the Ledger Nano X### Pairing and Launching the Ethereum App on Nano XWhen pairing, the pairing code will be displayed on your Ledger Nano X to confirm.\
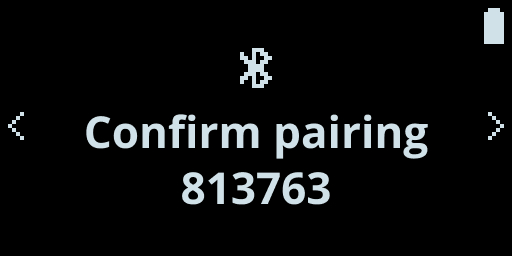Fig. 12: Confirm the pairing\
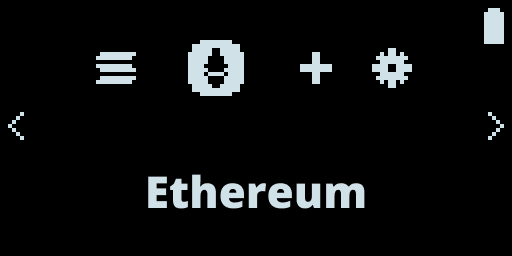Fig. 13: Ethereum Application\
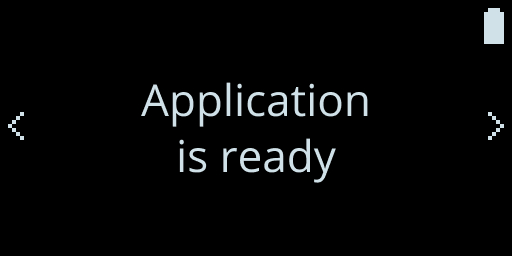Fig. 14: Nano Run ApplicationNow that the pairing is complete, the Nano X is ready with the ethereum application.
If all goes well you see the address of your ethereum account displayed.\
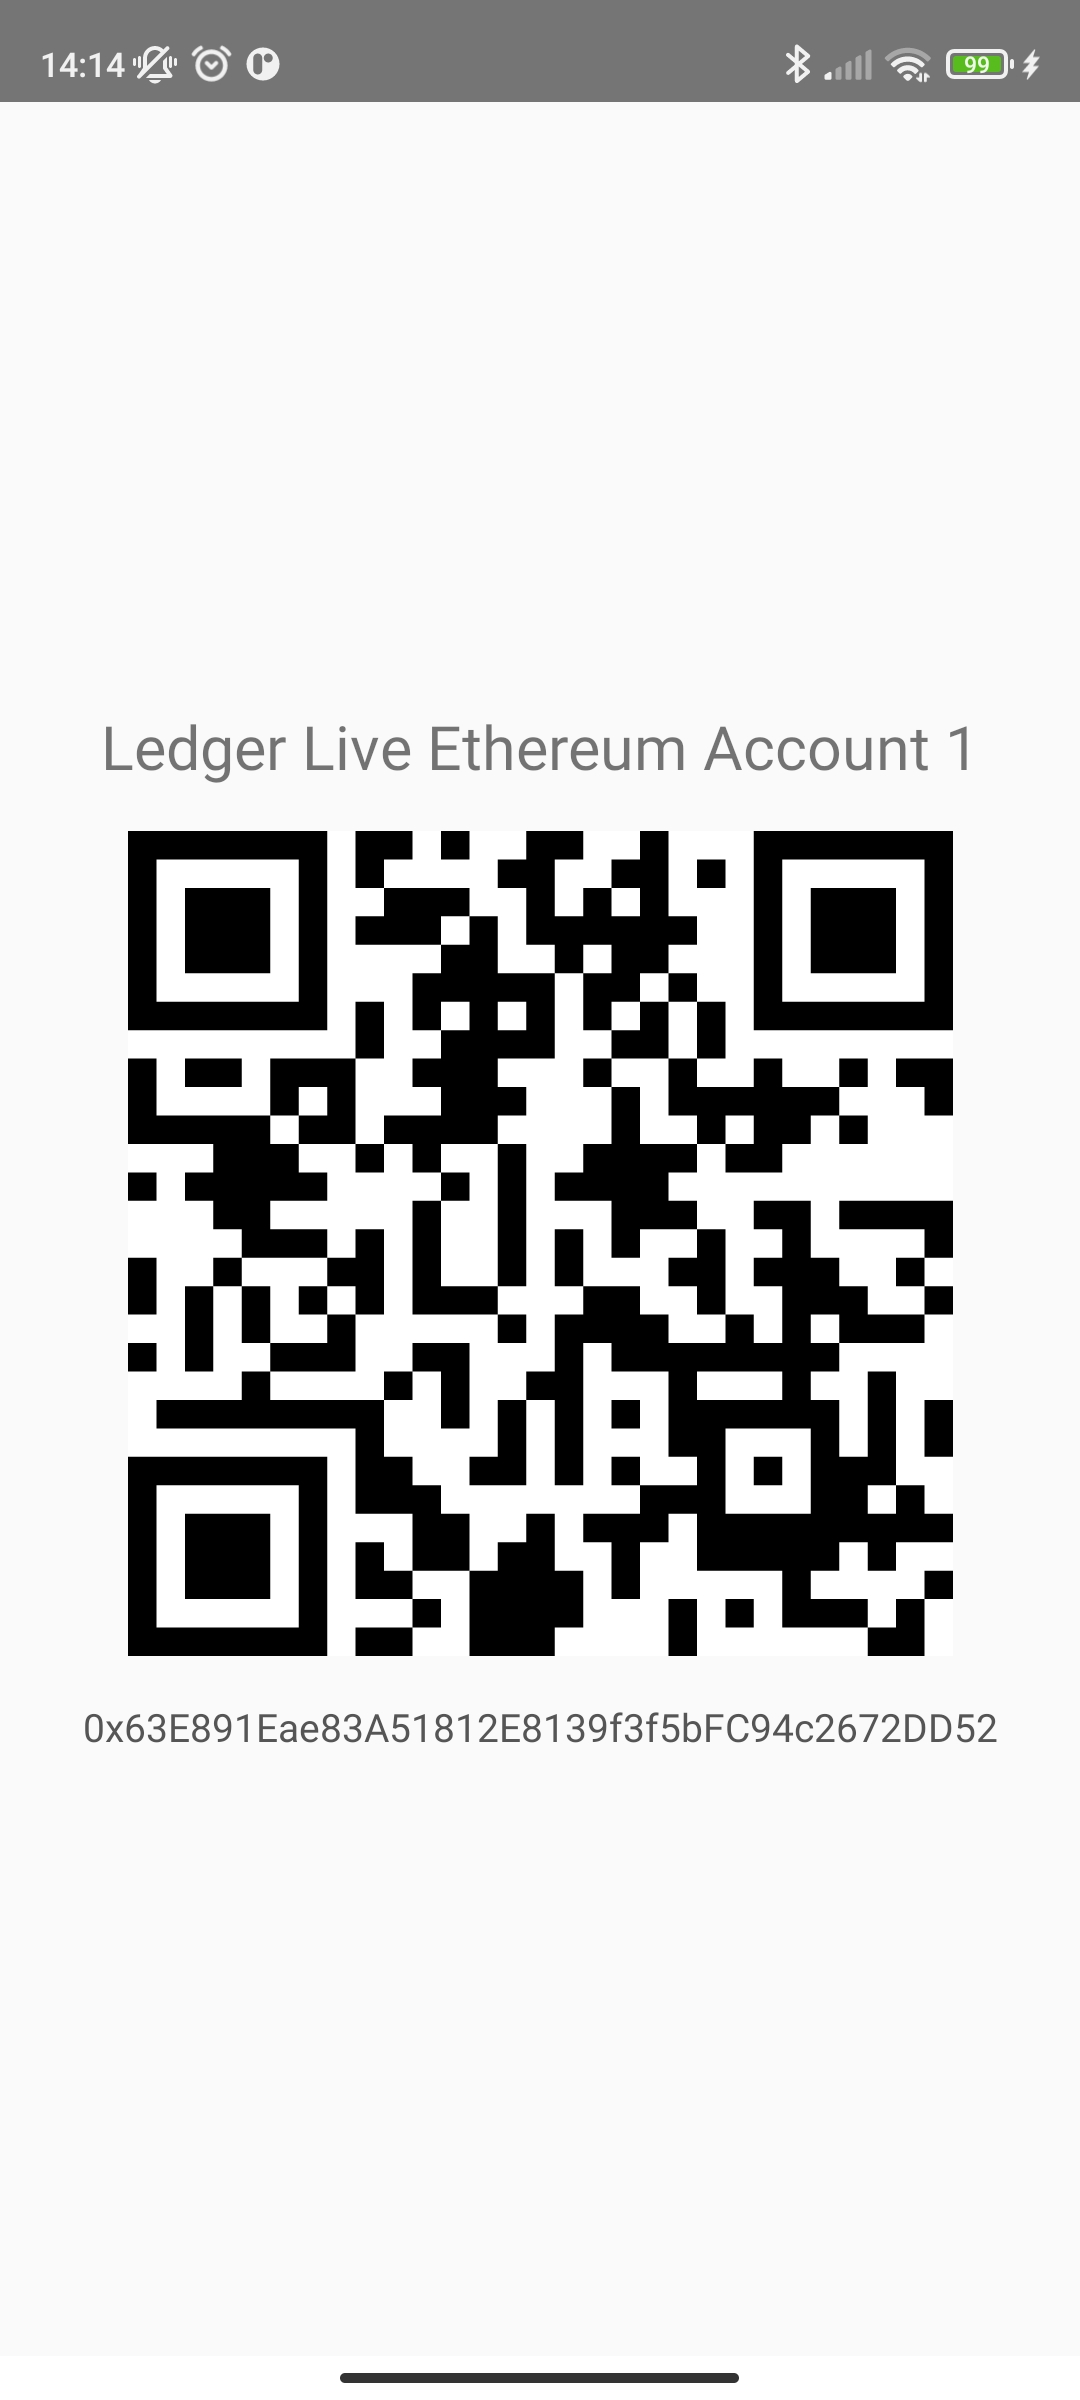Fig. 15: Address Account Displayed on Smartphone### Verify the AddressFor security purposes, we display on your Nano X the same ethereum address for you to confirm.\
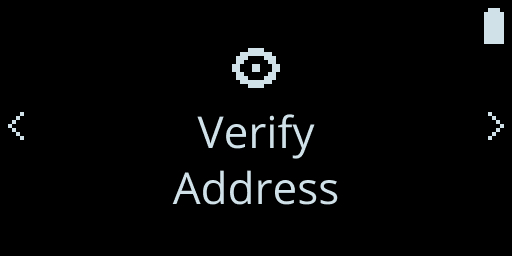Fig. 16: Nano Verify Screen\
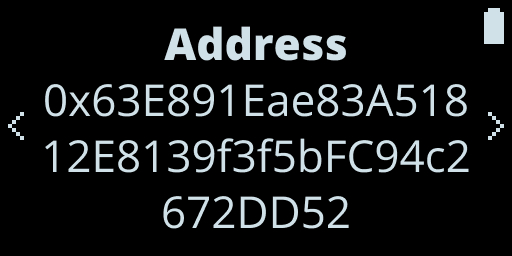Fig. 17: Nano Verify Address Screen\
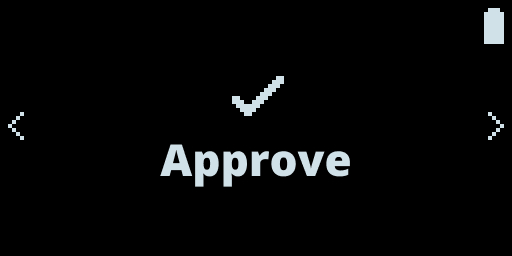Fig. 18: Device Approve ScreenCongratulations you have successfully built your first Android Bluetooth application connected to your Ledger!